
I would start this post with “What is a Samba share?”.
So to save me some trouble explaining here is a snippet from Wikipedia about the SMB protocol:
In computer networking, Server Message Block (SMB), one version of which was also known as Common Internet File System (CIFS/sɪfs/),[1][2] is a network communication protocol[3] for providing shared access to files, printers, and serial ports between nodes on a network.
https://en.wikipedia.org/wiki/Server_Message_Block
With that aside, I have this small server in my homelab that I frequently use it as a test bench for different kinds of Linux projects. It currently runs on Ubuntu Server 19.10.
It’s an AtomicPi, a small single-board computer. Much like its slower but more broadly known Raspberry Pi brother. This one features SoC Intel Chip – Intel Atom x5-Z8350, 2GB RAM and 16GB internal storage.
You can find more info here if you are interested: https://dlidirect.com/products/atomic-pi

It’s a cool thing, you can even run Windows on it. Install Linux and Docker, and you can run different kinds of containers with your favorite apps. I use it with Nextcloud and as a DNS AdBlock with Pi-hole. And as of recently as a small NAS storage device. The possibilities are endless.
In the image above you can see the external SSD drive in USB enclosure connected to its one-and-only USB port. Hey, at least it’s 3.0.
The external drive, I use it frequently to transfer files from one device to another and since they are mainly Windows it’s formatted as NTFS. I didn’t want to format it as a Linux partition with Ext4 FS or similar and wanted to stay as it is. When I don’t use it it will be on the server for network file sharing, and when I use it will be ready with NTFS for Windows.
As you may know, Linux isn’t much fond of the NTFS file system so before beginning with all of this, you will need to download the proper driver on your server(if it doesn’t have it already).
I will presume that you run Ubuntu or Debian since this tutorial will be targeted towards those.
While at your terminal download this NTFS driver:
Run the following command:
$ sudo apt-get install ntfs-3g
If you type the driver only as ntfs-3g in the terminal you should get the following output:
ubuntu@ubuntu-server:~$ ntfs-3g
 ntfs-3g: No device is specified.
 ntfs-3g 2017.3.23AR.3 integrated FUSE 28 - Third Generation NTFS Driver
                 Configuration type 7, XATTRS are on, POSIX ACLS are on
 Copyright (C) 2005-2007 Yura Pakhuchiy
 Copyright (C) 2006-2009 Szabolcs Szakacsits
 Copyright (C) 2007-2017 Jean-Pierre Andre
 Copyright (C) 2009 Erik Larsson
 Usage:    ntfs-3g [-o option[,…]]
 Options:  ro (read-only mount), windows_names, uid=, gid=,
           umask=, fmask=, dmask=, streams_interface=.
           Please see the details in the manual (type: man ntfs-3g).
 Example: ntfs-3g /dev/sda1 /mnt/windows
 News, support and information:  http://tuxera.com
 ubuntu@ubuntu-server:~$
That means that the driver has been successfully installed.
Plug in your external HDD or SSD if it isn’t plugged in already and find out its device name and partition.
Run the following command to find out which “name” has your disk.
$ sudo fdisk -l
As you can see in my case the disk is listed as /dev/sdb with its partition as /dev/sdb1.
ubuntu@ubuntu-server:~$ sudo fdisk -l
 Disk /dev/loop4: 93.8 MiB, 98336768 bytes, 192064 sectors
 Units: sectors of 1 * 512 = 512 bytes
 Sector size (logical/physical): 512 bytes / 512 bytes
 I/O size (minimum/optimal): 512 bytes / 512 bytes
 Disk /dev/mmcblk0: 14.58 GiB, 15636365312 bytes, 30539776 sectors
 Units: sectors of 1 * 512 = 512 bytes
 Sector size (logical/physical): 512 bytes / 512 bytes
 I/O size (minimum/optimal): 512 bytes / 512 bytes
 Disklabel type: gpt
 Disk identifier: C7395571-3969-4CAC-A3DF-53A7DB5B05D1
 Device           Start      End  Sectors  Size Type
 /dev/mmcblk0p1    2048  1050623  1048576  512M EFI System
 /dev/mmcblk0p2 1050624 30537727 29487104 14.1G Linux filesystem
 Disk /dev/sdb: 55.92 GiB, 60022480896 bytes, 117231408 sectors
 Disk model: 35T060G
 Units: sectors of 1 * 512 = 512 bytes
 Sector size (logical/physical): 512 bytes / 512 bytes
 I/O size (minimum/optimal): 4096 bytes / 33553920 bytes
 Disklabel type: dos
 Disk identifier: 0x00049a68
 Device     Boot Start       End   Sectors  Size Id Type
 /dev/sdb1        2048 117229567 117227520 55.9G  7 HPFS/NTFS/exFAT
 ubuntu@ubuntu-server:~$
If your disk isn’t partitioned it won’t display the device part i.e the sdb1, and you’ll need to format it but for reasons stated above this was already done by Windows.
In Linux servers, you will also need to mount the disk to a folder in order to access its contents. Which we will proceed to do with the next few commands.
Since the device name or notation can change with different USB devices plugged in or out, we will need to find out the disk UUID since that is a unique value and won’t change. Type the following command to retrieve it.
$ sudo blkid
Here is my output, and since we already know that the partition is at /dev/sdb1, we can see the UUID. Copy it because we will need it for the configuration in fstab.
ubuntu@ubuntu-server:~$ sudo blkid
 /dev/mmcblk0p1: UUID="9784-16D6" TYPE="vfat" PARTUUID="a1cf2c59-7f69-47bc-8ff7-b1c8711749f2"
 /dev/mmcblk0p2: UUID="5d14cea7-1341-49ac-aa12-8efe8336ae89" TYPE="ext4" PARTUUID="20a8f102-8b88-4b71-b69e-02c63432cf14"
 /dev/sdb1: UUID="19C8C6CB711BD991" TYPE="ntfs" PTTYPE="dos" PARTUUID="00049a68-01"
 /dev/loop4: TYPE="squashfs"
 ubuntu@ubuntu-server:~$
Now to need to make the OS automount the disk’s partition so we don’t manually mount it every time we restart the server. We will need to insert a small config in the fstab configuration.
But first, create a folder where would you like to have all contents mounted from the disk’s partition. I will make it in /home/ubuntu/ named as MSSD.
Run mkdir to make a directory, and the next argument will be your directory name.
$ mkdir MSSD
ubuntu@ubuntu-server:~$ mkdir MSSD
 ubuntu@ubuntu-server:~$ ls -l
 total 8
 -rw-r--r-- 1 root   root   1320 Dec  5  2002 jcameron-key.asc
 drwxrwxr-x 2 ubuntu ubuntu 4096 Apr 14 17:21 MSSD
 ubuntu@ubuntu-server:~$
The command ls -l is used to list all the contents of that directory. We can see that (mine at least) MSSD folder has been created successfully.
The fstab is a configuration file that keeps track of the mounted disk and file partitions. Read more here https://en.wikipedia.org/wiki/Fstab
The fstab is located at /etc/fstab, let’s edit it to insert our new disk and mount it to our folder.
$ sudo nano /etc/fstab
UUID=5d14cea7-1341-49ac-aa12-8efe8336ae89 / ext4 defaults 0 0
UUID=9784-16D6 /boot/efi vfat defaults 0 0
/swap.img       none    swap    sw      0       0
You can already see that there are previous entries and we will need to insert our below them. Be careful as to not delete or edit the previous ones since you can damage your server.
In my case, the config command will go like this. Focus on the bolded lines.
UUID=5d14cea7-1341-49ac-aa12-8efe8336ae89 / ext4 defaults 0 0
UUID=9784-16D6 /boot/efi vfat defaults 0 0
/swap.img       none    swap    sw      0       0
UUID="19C8C6CB711BD991"   /home/ubuntu/MSSD  ntfs-3g    permissions,locale=en_US.utf8    0   2
The first part is the device or our UUID which we retrieved previously. The second is the mount point, the folder that we created(MSSD), and the third is the NTFS driver to interface it. The permissions are well… for changing the permissions if we need to. The locale is to set the encoding of the disk as UTF8.
Now for the last two fields. The first is set to 0 to ignore dumping/backing in Linux and the second, written 2 is set for file system checking(fsck) on boot. 0 is set for skipping fsck, 1 is used only if the mounted partition is the root partition and 2 for all others. So in our case, it’s 2.
Save the configuration, and remount the drives.
$ sudo mount -a
Now, let’s check again our disk if it’s mounted:
df -h
ubuntu@ubuntu-server:~$ df -h
 Filesystem      Size  Used Avail Use% Mounted on
 udev            910M     0  910M   0% /dev
 tmpfs           191M  7.9M  183M   5% /run
 /dev/mmcblk0p2   14G  6.7G  6.5G  51% /
 tmpfs           951M     0  951M   0% /sys/fs/cgroup
 /dev/loop4       94M   94M     0 100% /snap/core/8935
 tmpfs           191M     0  191M   0% /run/user/1000
 /dev/mmcblk0p1  511M  7.8M  504M   2% /boot/efi
 /dev/sdb1        56G  6.3G   50G  12% /home/ubuntu/MSSD
 ubuntu@ubuntu-server:~$
And there is our disk, mounted and working. Another check with ls -l to see if we can view the contents.
ubuntu@ubuntu-server:~$ cd MSSD/
 ubuntu@ubuntu-server:~/MSSD$ ls -l
 total 13940
 drwxrwxrwx 1 root root        0 Apr 14 13:11 '$RECYCLE.BIN'
 drwxrwxrwx 1 root root     8192 Apr 14 12:32  Books
 drwxrwxrwx 1 root root        0 Apr 14 13:12  KT
 ---------- 2 root root 14262842 Apr 14 00:19  Mega
 drwx------ 1 root root        0 Apr 14 13:10 'System Volume Information'
 ubuntu@ubuntu-server:~/MSSD$
Success.
On to the second part, installing the Samba server.
$ sudo apt-get install samba
First, create an account for the Samba access in order to have some kind of authentication. I will create the user as ubuntu.
$ sudo smbpasswd -a ubuntu
ubuntu@ubuntu-server:~$ sudo smbpasswd -a ubuntu
New SMB password:
Retype new SMB password:
ubuntu@ubuntu-server:~$
Now open the config file located at /etc/samba/smb.conf in order to make our folder shareable on the network.
$ sudo nano /etc/samba/smb.conf
At the bottom of the wall-of-text file, insert the configuration like below. Feel free to edit the name, but make sure you know what you are doing about the other options.
[Linux - MSSD]
    path = /home/ubuntu/MSSD
    available = yes
    valid users = ubuntu
    read only = no
    browseable = yes
    public = yes
    writable = yes
The path is our folder created previously, the user is the one we created two commands before. Make sure those are correct and restart the samba service.
sudo service smbd restart
Now switch back to your Windows, and navigate to your server.

You will be prompted for login info, insert the account you created for the Samba access.
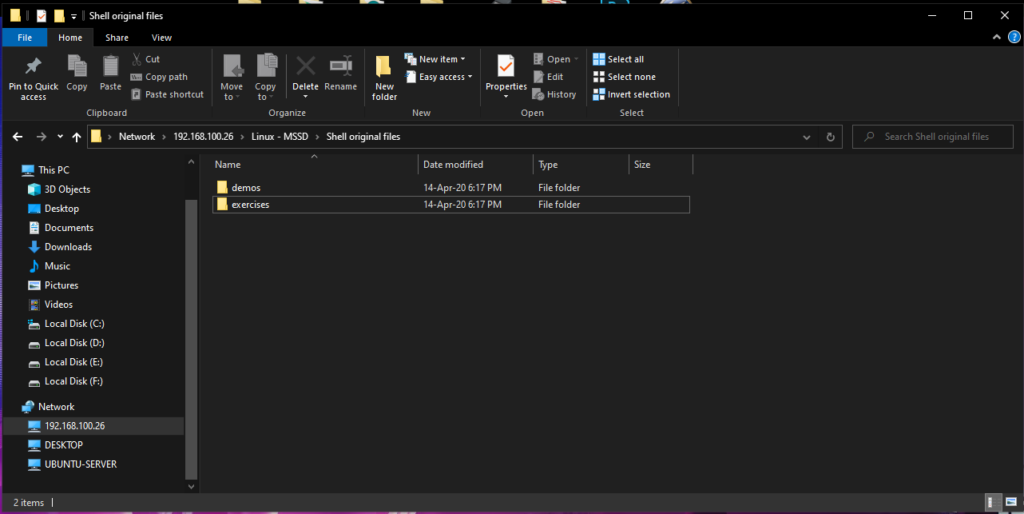
That’s it. You’ve successfully created a samba share!
In case you have some issues with permissions try to change the folder ownership with chmod. For example:
$ sudo chown -R ubuntu:ubuntu MSSD/