
So you created a Kubernetes cluster, it’s all well and working but you were wondering if something goes wrong.
Do I have a backup in place?
How can I restore a resource if it accidentally gets deleted?
What about disaster recovery?
Can I spin up a new production-ready cluster if the main one goes sideways?
Intro to Velero
Well, the answer is Velero, a small open-source tool that monitors your cluster where you can initiate backups, restores, snapshots, DR as well as data migration.
Velero is also supporting multiple cloud vendors. In this blog post, I will deploy it and show its benefits using google cloud.
More info about Velero can be found on their main site and their GitHub page.
Pre install requirements
Before installing Velero we will need to create a bucket where all the backup files will go and a service account to give the appropriate access.
In my case I crated a bucket named velero-kubernetes-bucket

Next we will continue with creating the service account.
I’ll be using cloud shell since it’s easier for me. You can use whatever access/terminal you like.
First store the bucket name and project ID in variables since we will be needing them multiple times throughout creating the account.
$ BUCKET=velero-kubernetes-bucket
$ PROJECT_ID=velero-282415
To check if the stored variables are correct use echo. Example:
$ echo $PROJECT_ID
#in my case the output will be velero-282415
We will continue with the service account creation.
$ gcloud iam service-accounts create velero --display-name "Velero service account"
$ SERVICE_ACCOUNT_EMAIL=$(gcloud iam service-accounts list \
--filter="displayName:Velero service account" \
--format 'value(email)')
Create the role permissions for the service account.
$ ROLE_PERMISSIONS=(
compute.disks.get
compute.disks.create
compute.disks.createSnapshot
compute.snapshots.get
compute.snapshots.create
compute.snapshots.useReadOnly
compute.snapshots.delete
compute.zones.get
)
Create the actual role.
$ gcloud iam roles create velero.server \
--project $PROJECT_ID \
--title "Velero Server" \
--permissions "$(IFS=","; echo "${ROLE_PERMISSIONS[*]}")"
Bind the role to the account.
$ gcloud projects add-iam-policy-binding $PROJECT_ID \ --member serviceAccount:$SERVICE_ACCOUNT_EMAIL \ --role projects/$PROJECT_ID/roles/velero.server
Assign the access for the previously created bucket.
$ gsutil iam ch serviceAccount:$SERVICE_ACCOUNT_EMAIL:objectAdmin gs://${BUCKET}
Create a credentials file that Velero can use for access.
$ gcloud iam service-accounts keys create credentials-velero \
    --iam-account $SERVICE_ACCOUNT_EMAIL
Check if the service account is created either using the web console navigating to IAM or by listing all accounts through a command.
$ gcloud iam service-accounts list

Downloading Velero
I downloaded the linux binary from here: https://github.com/vmware-tanzu/velero/releases/tag/v1.4.0
and extracted it to a folder using tar.
$ tar xvf velero-v1.4.0-linux-amd64.tar.gz
For easier access, you can also add the binary to PATH. To do it, just navigate to the folder where Velero is and copy the bin file to /usr/local/bin.
$ sudo cp velero /usr/local/bin
Installing Velero on the Kubernetes cluster
I would assume that your cluster is up and running, if it isn’t and you want to test this just spin up a new one using GKE.
To install it we will need the bucket name and the credential file created previously. Now issue the following command.
$ velero install --provider gcp --plugins velero/velero-plugin-for-gcp:v1.1.0 --bucket $BUCKET --secret-file ./credentials-velero
Make sure to have the credentials file in the folder otherwise the install will fail.
If the Velero install has passed successfully you can check the pod if it’s running.
$ kubectl get pods -n velero
And the output of the log file
$ kubectl logs deployment/velero -n velero

Testing
To test Velero backup capabilities I’ve deployed a small nginx service in a separate namespace. To deploy the nginx just run the following commands
$ kubectl create ns nginx
$ kubectl run nginx --image=nginx --port=80 -n nginx
$ kubectl expose pod nginx --port=80 --target-port=80 --type=LoadBalancer -n nginx

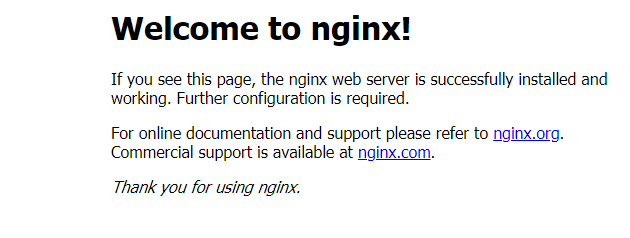
If nginx is running correctly, going to the load balancer IP should open the welcome web page.
Now to create the actual backup run:
$ velero backup create nginx-backup --include-namespaces nginx
where with –include-namespaces you define which namespace should Velero back up.
You can also check the bucket and see if the backup is in place

Now we will simulate a disaster and delete the nginx deployment, service as well as the namespace.
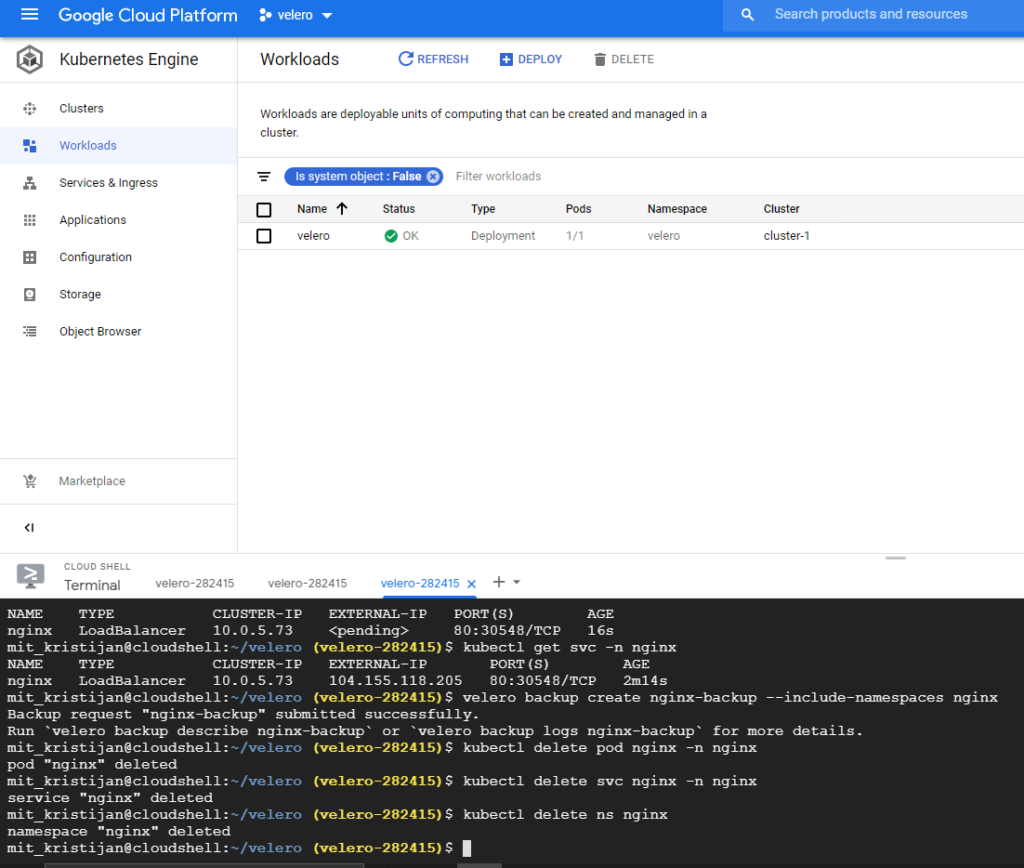
As you can see I’ve deleted multiple parts from the cluster and now we will see how Velero can undo the damage.
Just issue:
$ velero restore create --from-backup nginx-backup
Voila! We are back and running again. The nginx deployment, service and namespace have been all restored. Success!

Additional options from Velero include DR solution, scheduled backing up. For example, for schedule to be run.
$ velero schedule create schedule-name --schedule "0 7 * * *"
This will create a scheduled backup with a retention period of 30 days, if you wish to shorten it or extend it you can do so with the –ttl flag. Example: –ttl 24h0m0s will keep a backup for only a day.